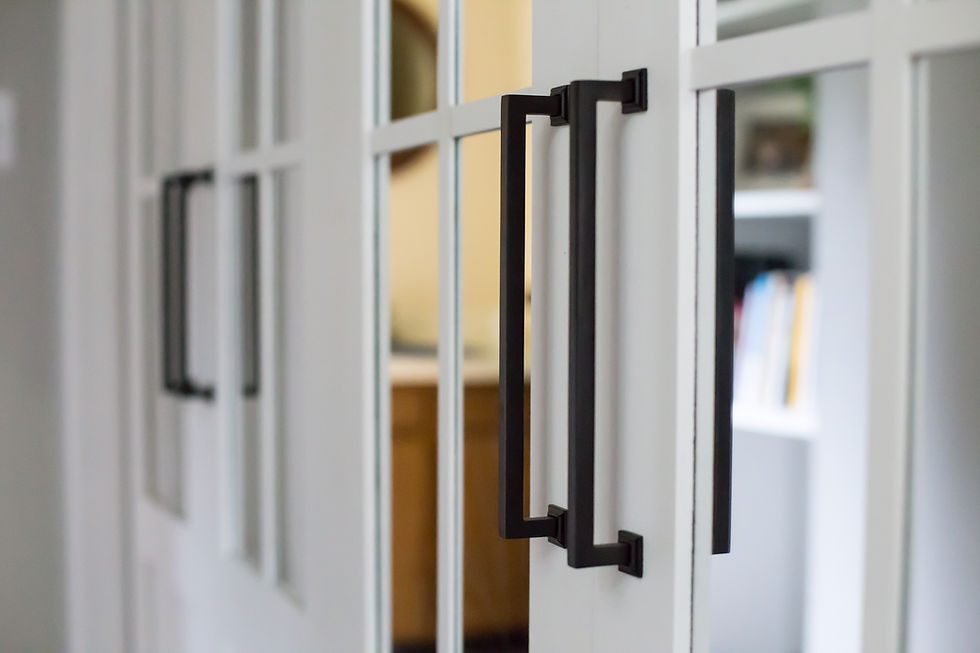
It's official, I'm the worlds worst blogger. The good news however, is that today is Friday! Plus, our new refrigerator arrives this weekend. Slowly but surely this place is coming together! Today, I'm sharing a home renovation project that we completed last month.
I truly believe my husband becomes overcome with fear each time I come to him with a new design idea. Not that he doesn't end up loving the ideas in the end, but they are never easy. My taste is, well, intricate. With a long way to go, our home has undergone a tremendous transformation. Think 80's. envision oak, hollow doors, brass doorknobs, yellow walls. Are you catching my vibe? That summed up our entire house last year.
Let's chat about a once dark, dingy hall-closet. In our entryway we have an oversized closet which is actually quite amazing. We considered doing a built-in bench with cubbies, but that wouldn't have solved the problem of brightening up such a glum hallway. Plus, we yearned for a place to hide all of our shoes, bags and kids clutter in an easy, functional way.
Most designer knows that mirrors are the absolute best way to reflect light back into a space and create depth. Our solution was to jazz up the existing bifold closet doors and transform them into beautiful custom-like mirrored doors. Now, we could have purchased custom doors from a professional company but we're Ulan and Sarah, the crazy design duo who can't NOT do everything ourselves. Let me add that we would have paid over $5,000 for professional doors, but what we ended up spending ourselves was a weekend of time and $200, yes that's right, $200! Insanity. It was a large undertaking, but worth it in the end.
I'll briefly touch on the process. Highlightig the 'what,' yet skipping the 'how.' Contact me with questions if you are interested in the logistics. To start, We removed the existing trim around the closet doorway, removed the track that the doors glided on, and removed the metal edging from the corners of the drywall to give us more space to work with.
1. Remove existing trim work around doorway, remove door track and metal insert in the drywall edges.
2. Insert new door jam and build trim/moulding around the doorway. We used the same exact style around all of our cased openings, doorways and windows throughout the entire house.
3. Cut existing bifold doors down to fit into the new doorframe. 1/4 inch off both ends of each door to slightly decrease the width.
4. Paint brown doors white.
5. Reinstall door track after painting white (along the top of closet opening).
6. Remove framing around purchased mirrors to create a flat mirror, then attach to the doors.
7. Design and cut trim pieces to frame the mirror and keep it secure to each door.
8. Cut lattice design to fit into the mirrored section. Glue onto mirror.
9. Reinstall doors.
10. Install new hardware.

The doors (before). We reused them, and they are truly unrecognizable now!

Removing door jam and metal edges in the drywall.

Working on spacing and calculating where to add new trim and moulding around the doorway


Cute sidekick helping shop for the mirrors

Glued mirrors to the painted doors


Added trim on top of the mirrors

Fitting the doors into the space!

They're in!

The hardware was the biggest splurge for this project.


Comments